.svg)

Heatmaps + A/B Testing: Prioritize Hypotheses that Win

Problem signals (why A/B alone wastes cycles)
- Neutral experiment, hot interaction clusters. Variant B doesn’t “win,” yet heatmaps reveal dense click/tap activity on secondary actions (e.g., “Apply coupon”) that siphon intent.
- Mobile loses, desktop wins. Aggregated statistics hide device asymmetry; mobile heatmaps show below‑fold CTAs or tap‑target misses that desktop doesn’t suffer.
- High scroll, low conversion. Heatmaps show attention depth but also dead zones where users stall before key fields.
- Rage taps on disabled states. Your variant added validation or tooltips, but users hammer a disabled CTA; the metric reads neutral while heatmaps show clear UX friction. If your team is comparing experimentation platforms, reviewing VWO alternatives for A/B testing can also help you understand which tools combine testing data with behavioral context.
Root‑cause map (decision tree)
- Start: Your A/B test reads neutral or conflicting across segments. Segment by device & viewport.
- If mobile underperforms → Inspect fold line, tap clusters, keyboard overlap.
- If desktop underperforms → Check hover→no click and layout density.
- Map hotspots to funnel step. If hotspot sits before the drop → it’s a distraction/blocker. If after the drop → investigate latency/validation copy.
- Decide action. Variant rescue: keep the candidate and fix the hotspot. Variant retire: no actionable hotspot → reprioritize hypotheses.
How to fix (3 steps) — Deep‑dive: Interactive Heatmaps
Step 1 — Overlay heatmaps on experiment arms
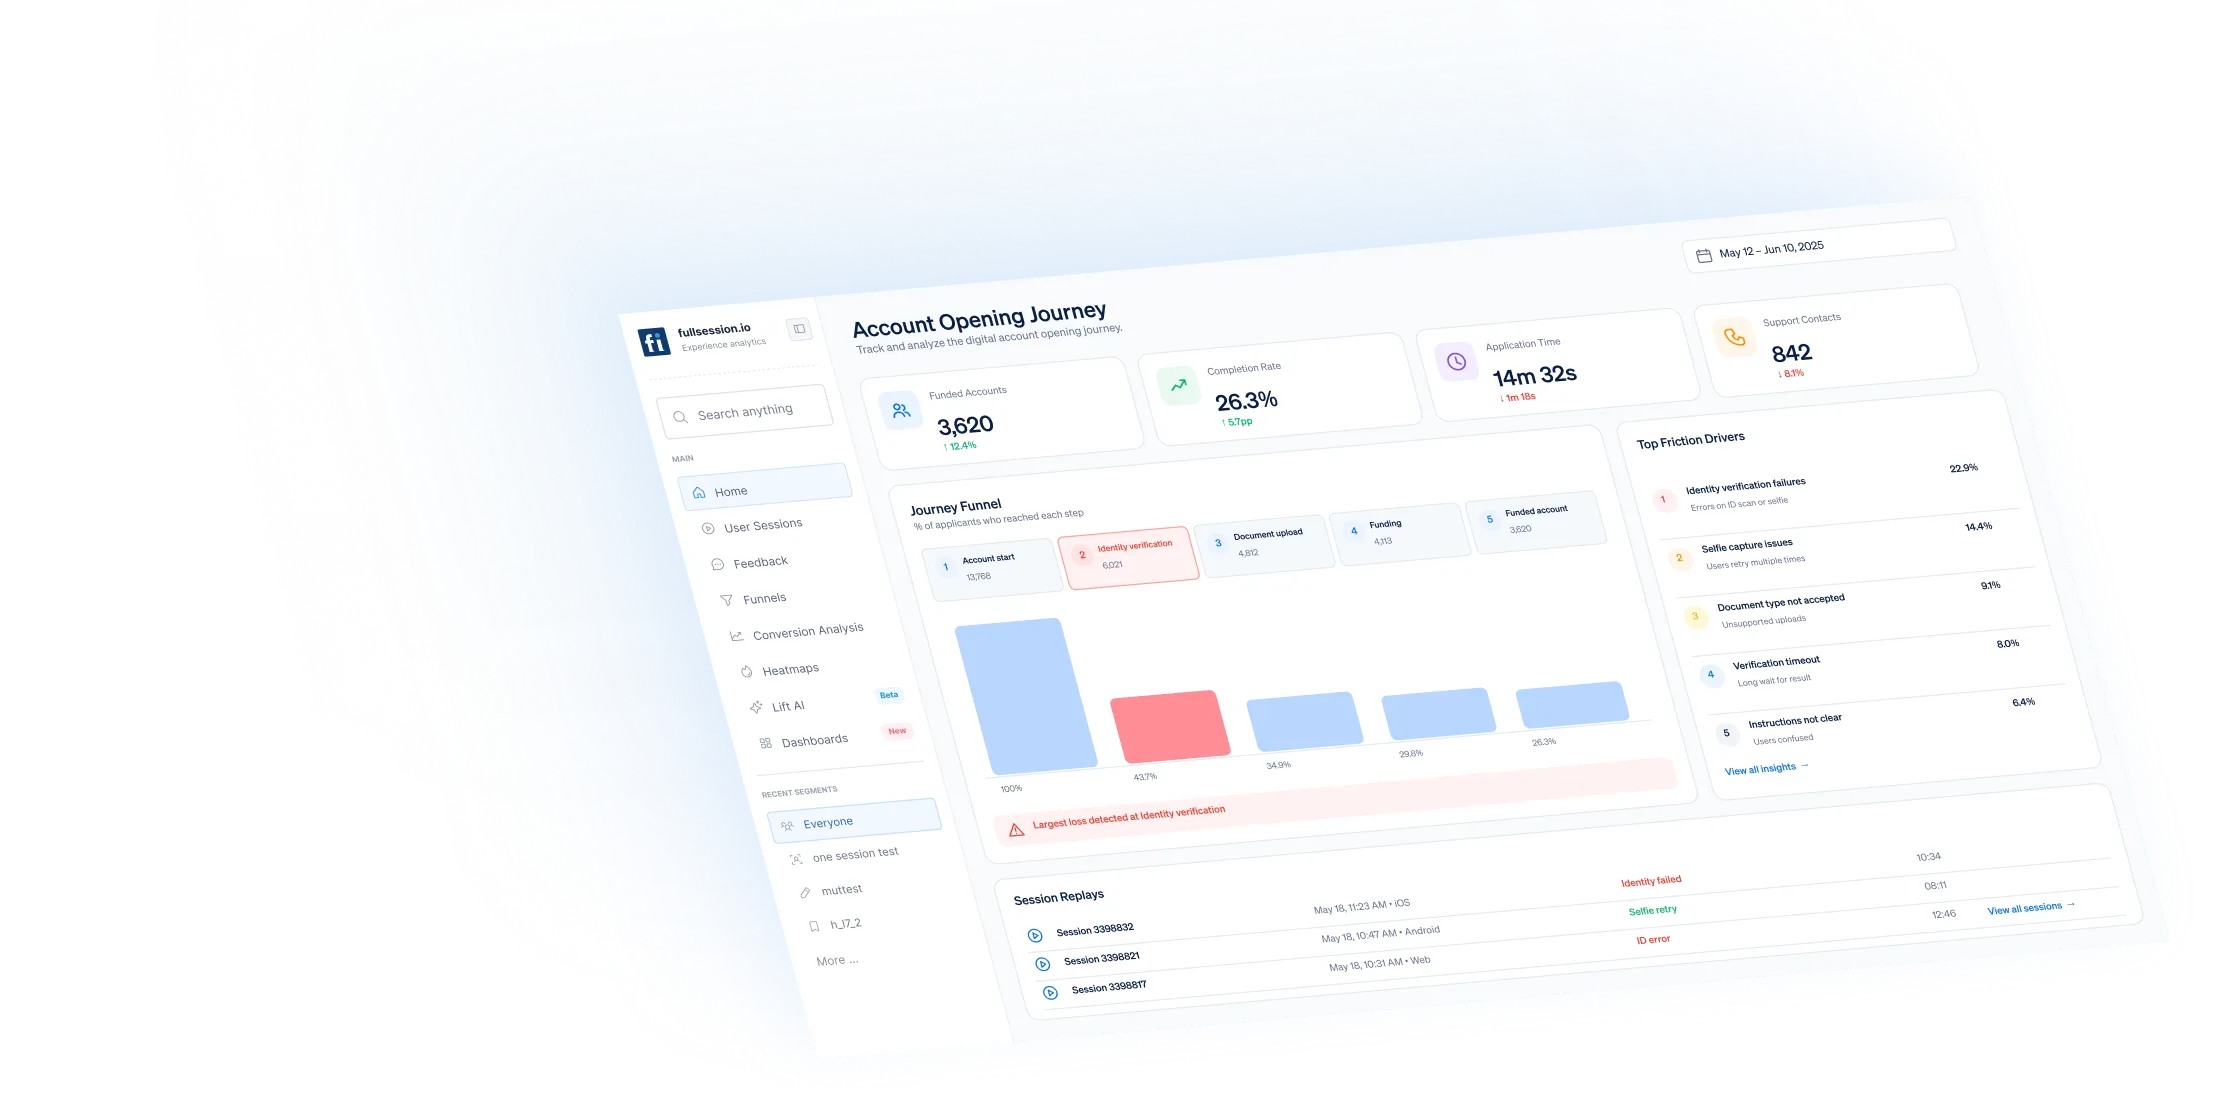
Compare Variant A vs B by device and breakpoint. Toggle rage taps, dead taps, and scroll depth. Attach funnel context so you see drop‑off adjacent to each hotspot. Analyze drop‑offs with Funnels.
Step 2 — Prioritize with “Impact‑to‑Effort” tags
For each hotspot, tag Impact (H/M/L) and Effort (H/M/L). Focus H‑impact / L‑M effort items first (e.g., demote a secondary CTA, move plan selector above fold, enlarge tap target).
Step 3 — Validate within 72 hours
Ship micro‑tweaks behind a flag. Re‑run heatmaps and compare predicted median completion to observed median (24–72h). If the heatmap cools and the funnel improves, graduate the change and archive the extra A/B path.
Product interlinks:
Evidence (mini table)
ScenarioPredicted median completionObserved median completionMethod / WindowUpdatedDemote secondary CTA on pricingHigher than baselineHigherPre/post; 14–30 daysNov 2025Move plan selector above fold (mobile)HigherHigher; lower scroll burdenCohort; 30 daysNov 2025Copy tweak for validation hintSlightly higherHigher; fewer retriesAA; 14 daysNov 2025
Demote secondary CTA
Predicted: Higher • Observed: Higher • Window: 14–30d • Updated: Nov 2025
Above‑fold selector (mobile)
Predicted: Higher • Observed: Higher • Window: 30d • Updated: Nov 2025
Validation hint copy
Predicted: Slightly higher • Observed: Higher • Window: 14d • Updated: Nov 2025
Case snippet
A PLG team ran a pricing page test: Variant B streamlined plan cards, yet overall results looked neutral. Heatmaps told a different story—mobile users were fixating on a coupon field and repeatedly tapping a disabled “Apply” button. Funnels showed a disproportionate drop right after coupon entry. The team demoted the coupon field, raised the primary CTA above the fold, and added a loading indicator on “Apply.” Within 72 hours, the mobile heatmap cooled around the coupon area, rage taps fell, and the observed median completion climbed in the confirm step. They shipped the changes, rescued Variant B, and archived the test as “resolved with UX fix,” rather than burning another sprint on low‑probability hypotheses.
Next steps
- Add the snippet, enable Interactive Heatmaps, and connect your experiment IDs or variant query params.
- For every “neutral” test, run a mobile‑first heatmap review and check Funnels for adjacent drop‑offs.
- Ship micro‑tweaks behind flags, validate in 24–72 hours, and standardize an Impact‑to‑Effort rubric in your optimization playbook.
Related articles
FAQs
They reveal why a result is neutral or mixed—by showing attention, rage taps, and below‑fold CTAs—so you can rescue variants with targeted UX fixes.
Yes. Filter by variant param, device, and date range to see A vs B patterns side‑by‑side.
Absolutely. Pair heatmaps with Funnels to see where intent stalls and to measure completion after UX tweaks.
FullSession masks sensitive inputs by default. Allow‑list only when necessary and document the rationale.
FullSession capture is streamed and batched to minimize overhead and avoid blocking render.
Pass the experiment ID / variant label as a query param or data layer variable; then filter by it in FullSession.
See what’s costing you, and prove whats fixing it is worth
Watch the real journey, rank every issue by revenue impact, and validate the result against baseline.


.svg)
.svg)
212 E Stone Path St Derby, KS 67037 Phone: +1 415-649-4222



All systems operational.